Posted on

Hurricane Rudder Blades Repair

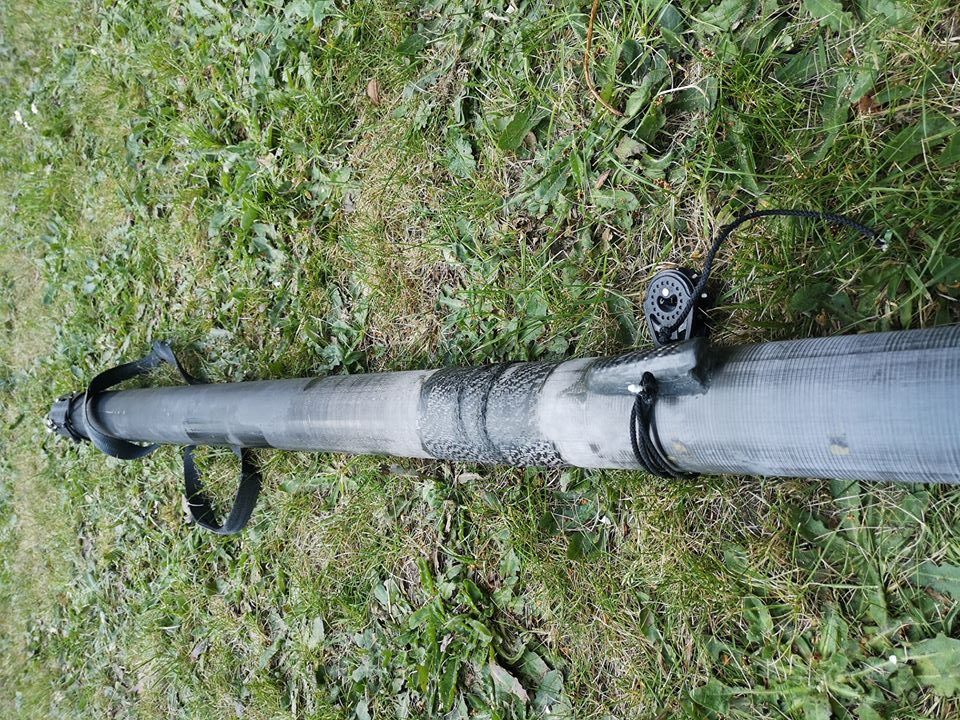
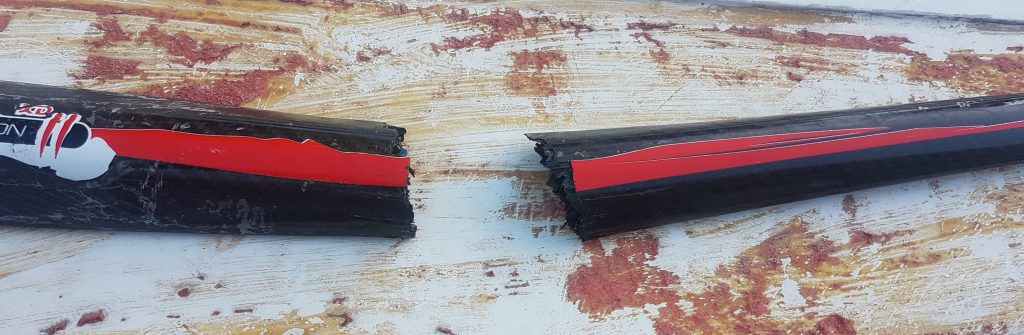
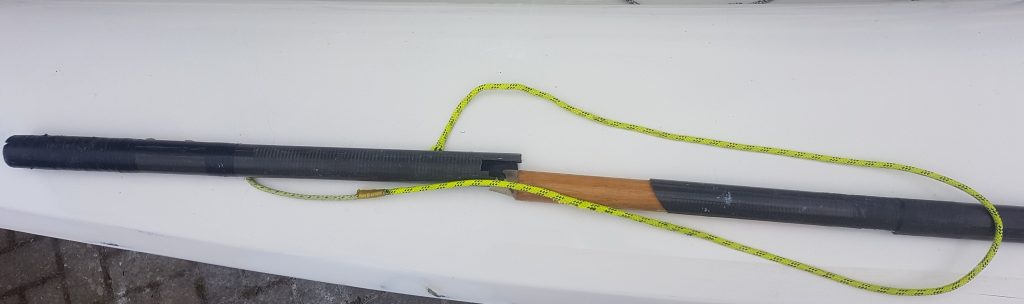
we received a couple of Hurricane 5.9 SX rudder blades on a Tuesday evening, the end of one of them had ‘bent off’ as the new owner put it and also asked ‘could I have them back for the weekend?’,after only his second weekend sailing the boat he was obviously disappointed and understandably wanted to get back on the water as soon as possible. Always up for a challenge, we set about repairing them.

damaged rudder tip

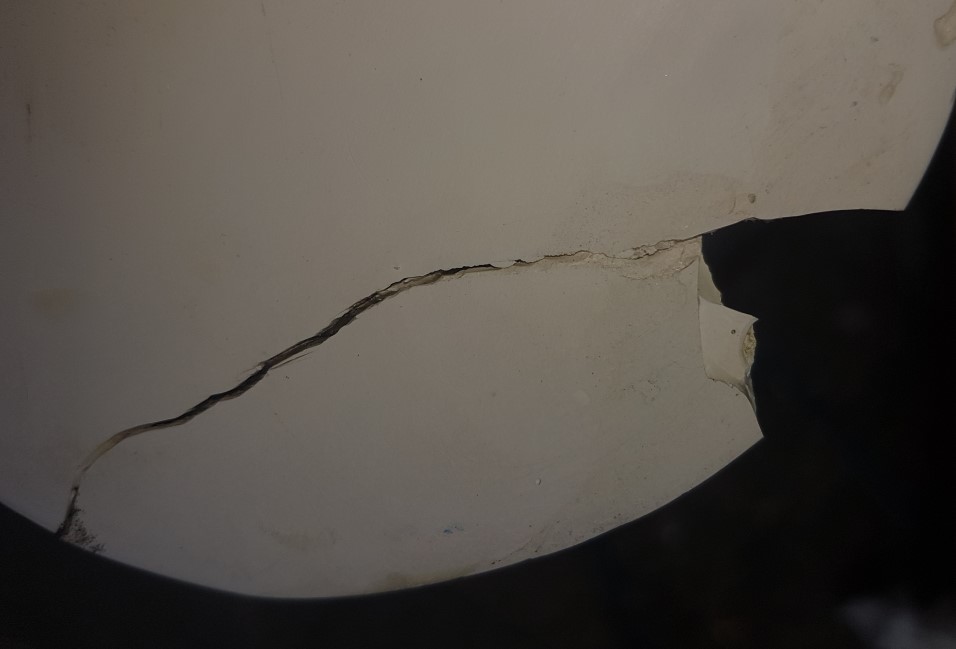
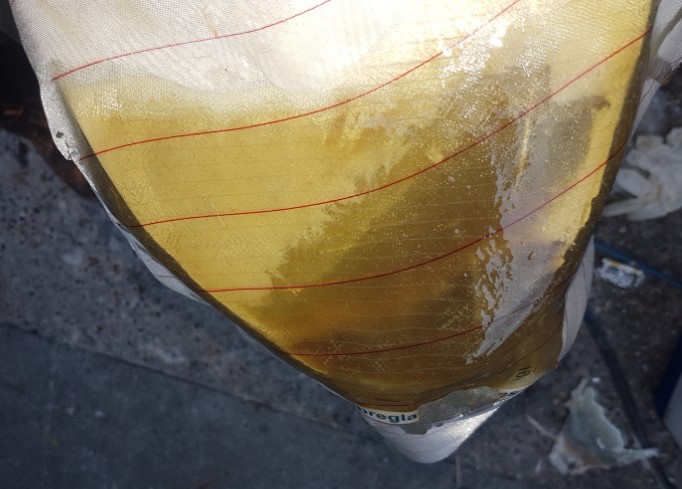
from initial inspection, we could tell that the previous owner must have thought Gelcoat was some sort of magical, all encompassing glue, filler, core and coating system, let us assure you it most certainly is not! Around 500-600 microns is optimal as a coating system but if you build it up much over 750 microns (.75mm) it becomes brittle and as for its bonding properties, pretty much not existent.

whether this was just a bodge to tart the boat up and sell it, or a serious attempt at a repair, we will never know, however, the old adage, buyer beware definitely applied in this case.

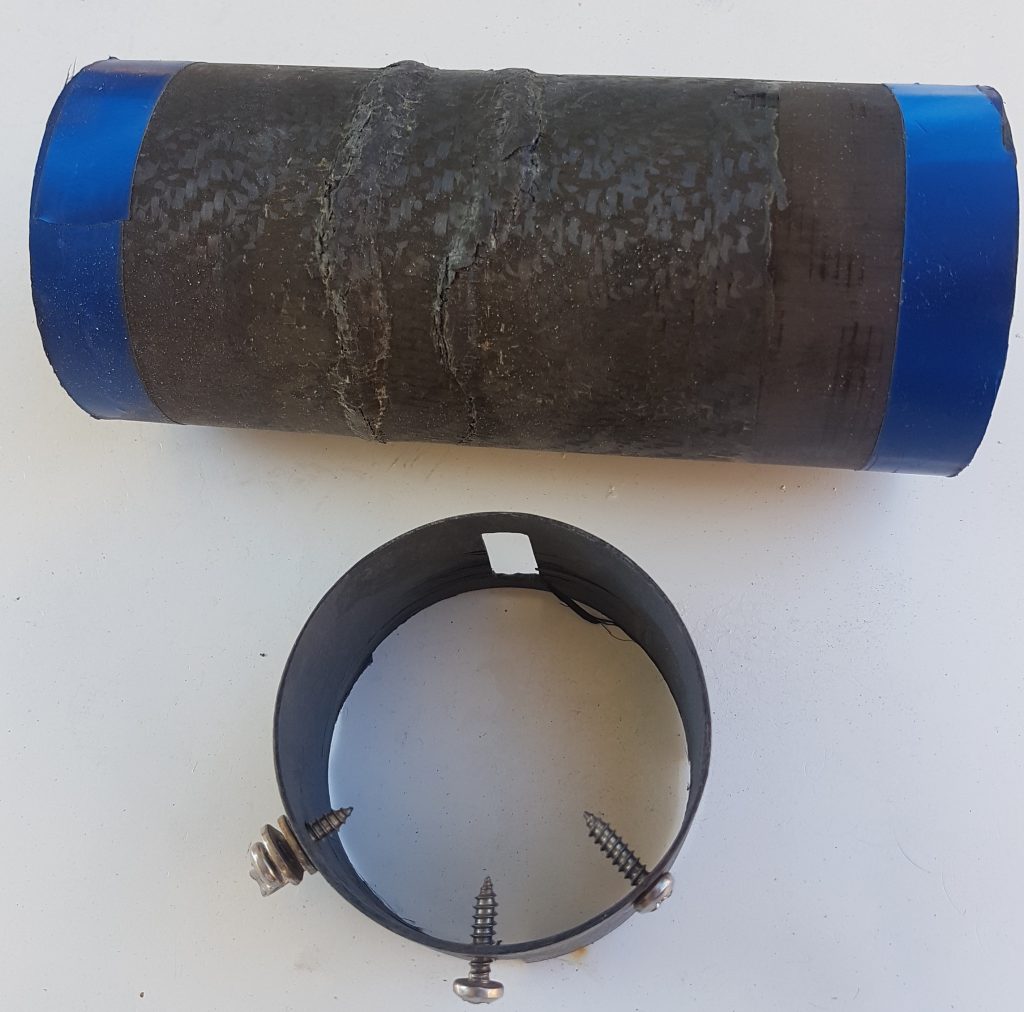
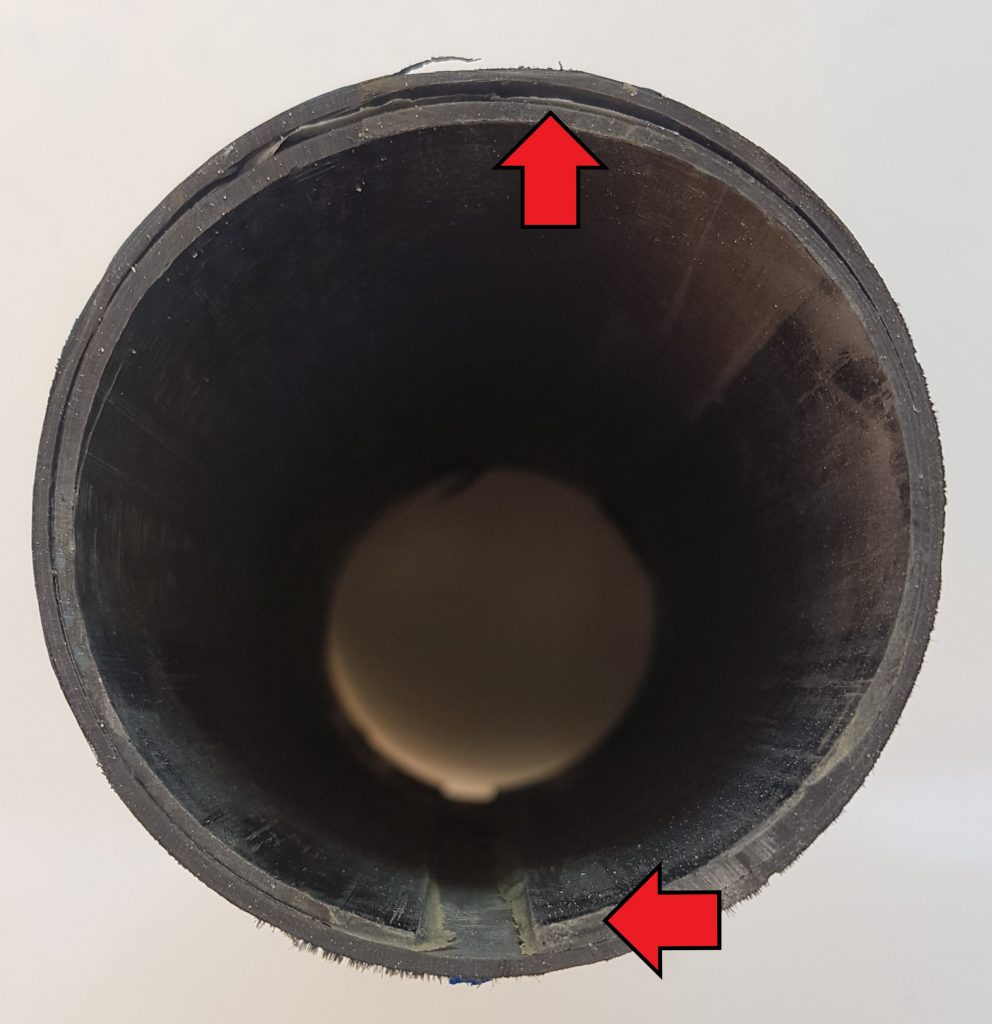
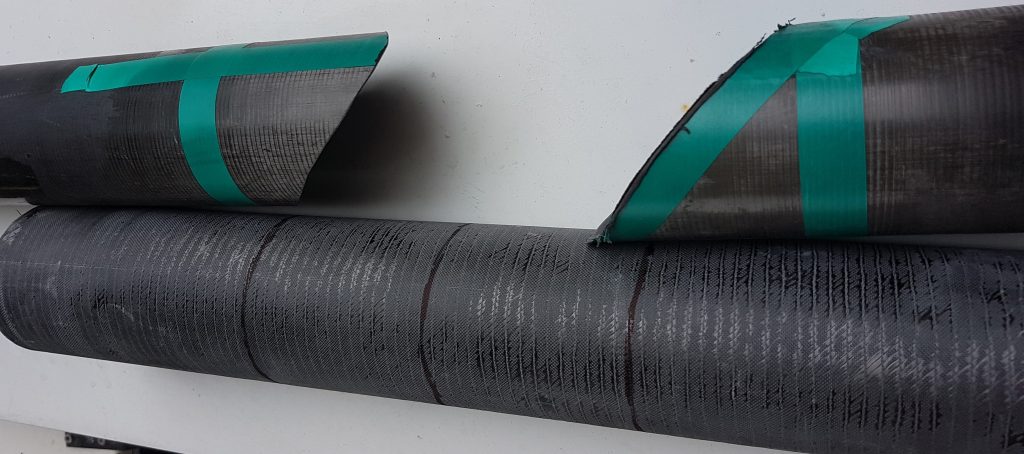
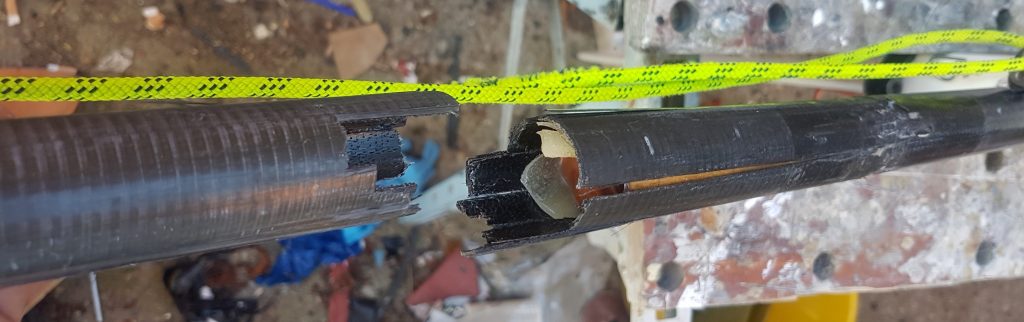
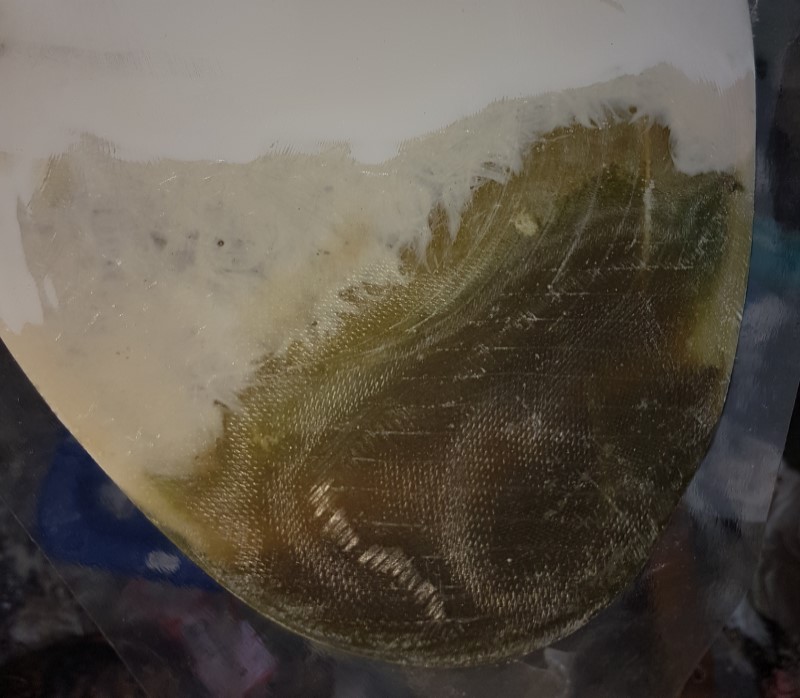
first we took a template of the original shape which compared fortunately favourably to the other rudder we had on hand (a little less damaged, but clearly suffering from a similar repair strategy). We then removed the offending lump of gelcoat and ground back until we had a nice chamfer into good solid original substrate, through the gelcoat, bonding filler, glass and foam core and ensured the area we were repairing was completely dry.

Unfortunately some of the foam core had also been replaced with Gelcoat , so we created a lightweight filler mix to recreate the shape of the foam core to then form the new skins over.

part way through the recreation of a core with lightweight custom filler

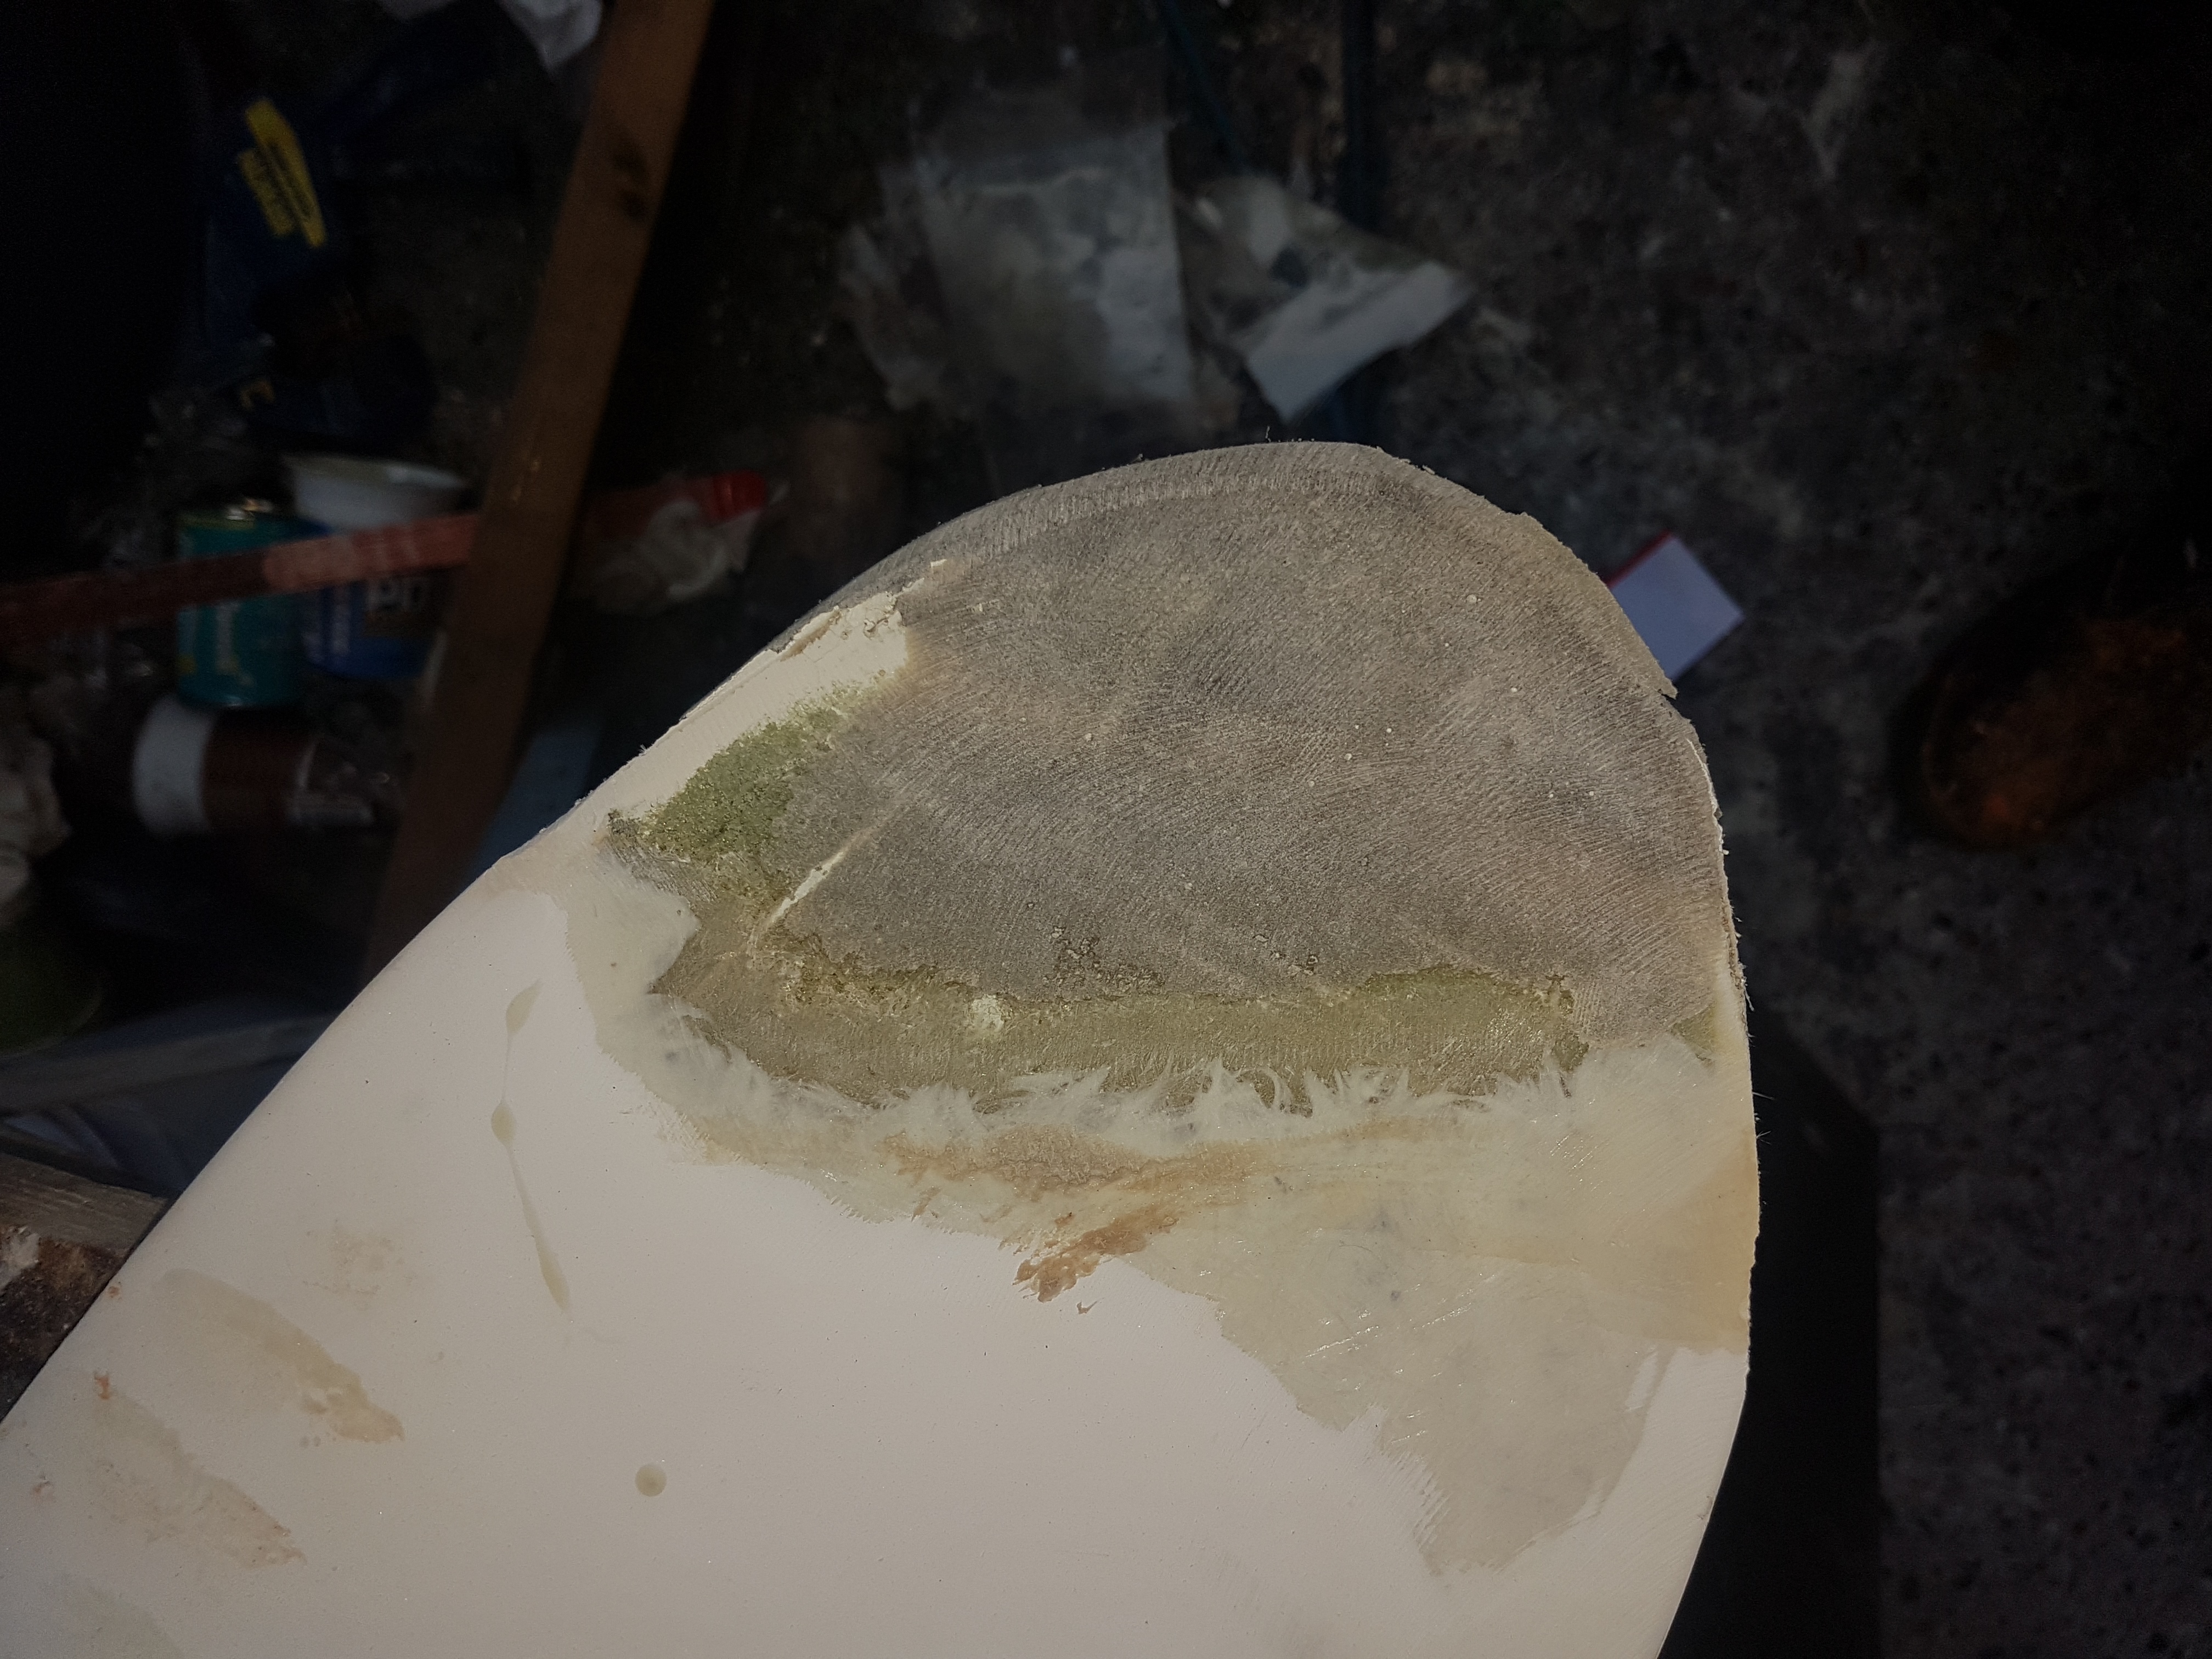
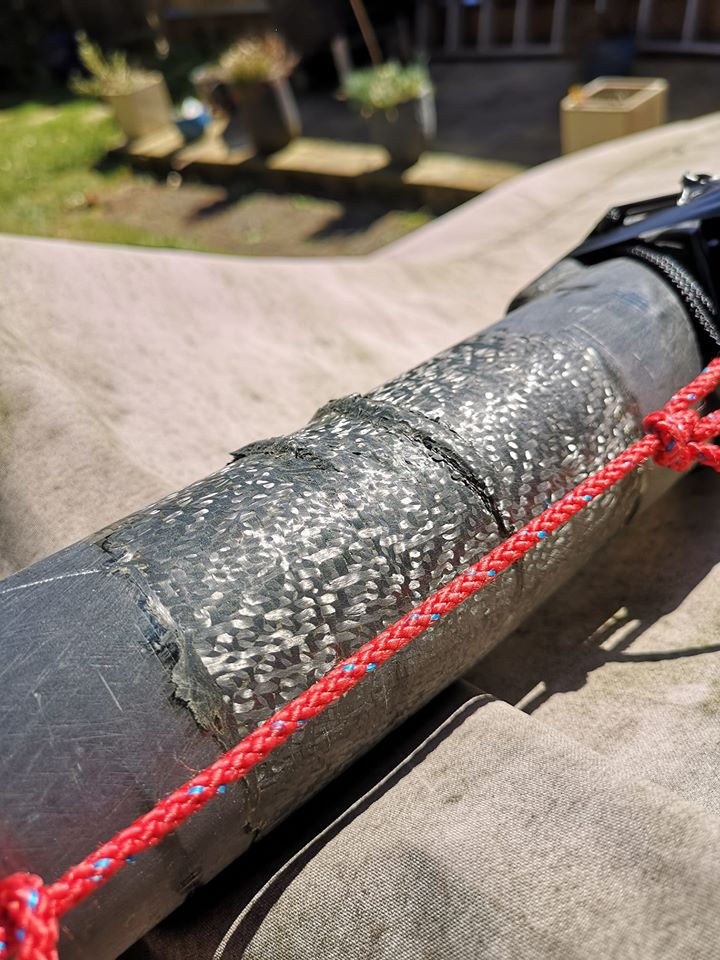
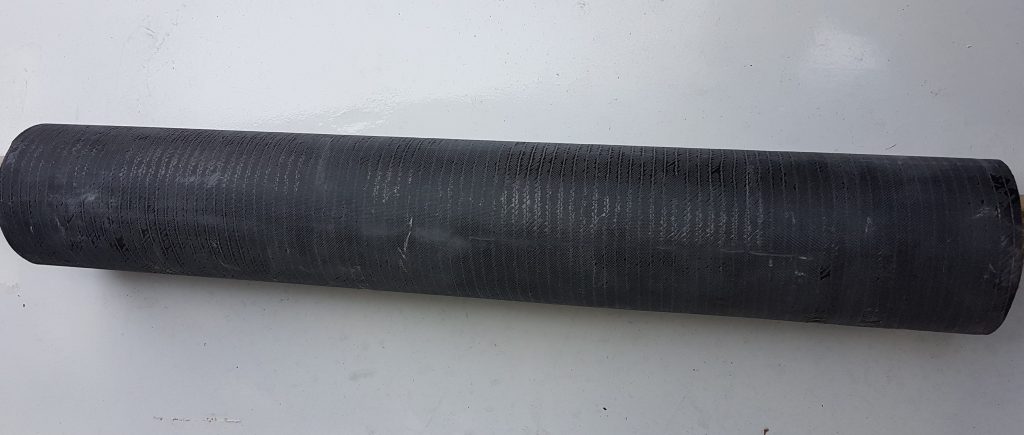
the filler was ground back on both sides to the original profile and shape and then glassed over with a selection of cloths in various orientations to provide the strongest laminate for the limited thickness we had to work with. We used vinylester resins for this project as the original rudder appeared to be polyester with CSM or woven rovings, so our substrate would be both sympathetic to the original materials, chemically compatible with polyester gelcoating and also stronger than the OEM layup as tips on catamaran rudders have potential to take a lot of beach related damage. It may not look like it, but there is a layup of 2kg/sqm of glass on either side of the tip at this stage of the repair.

hand laminated and consolidated with peel ply

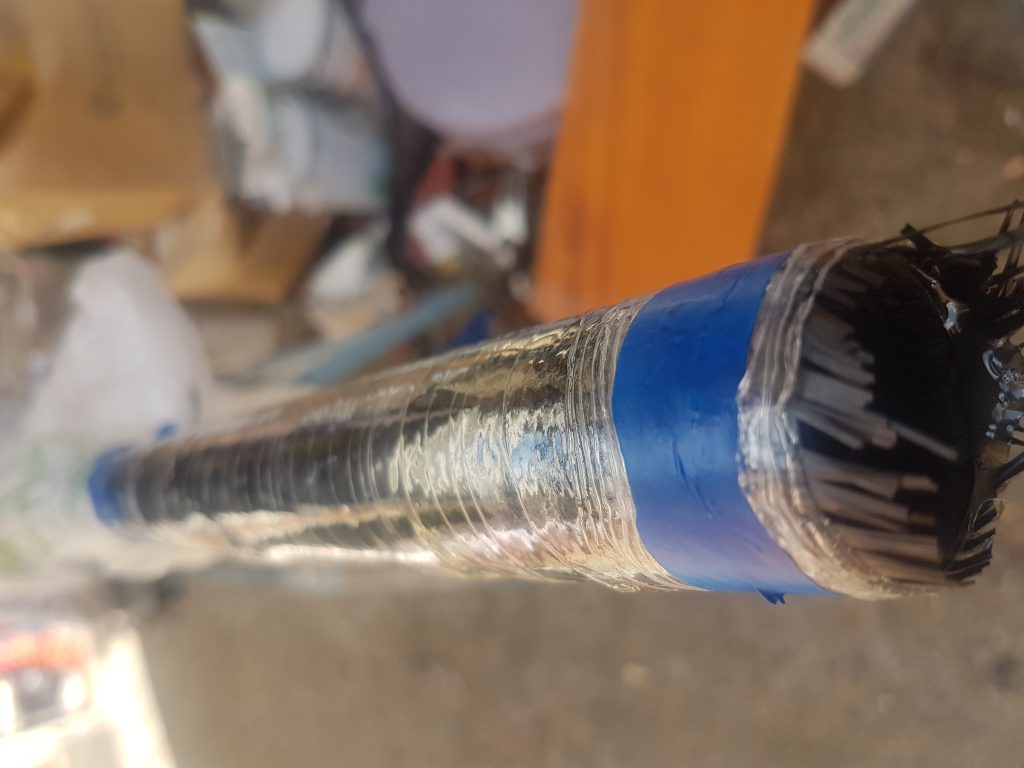
the glass was hand laminated and consolidated with a layer of peel ply, we decided vacuuming would be excessive and add more cost to the repair than it was worth considering the original layup schedule of the rudder blades.

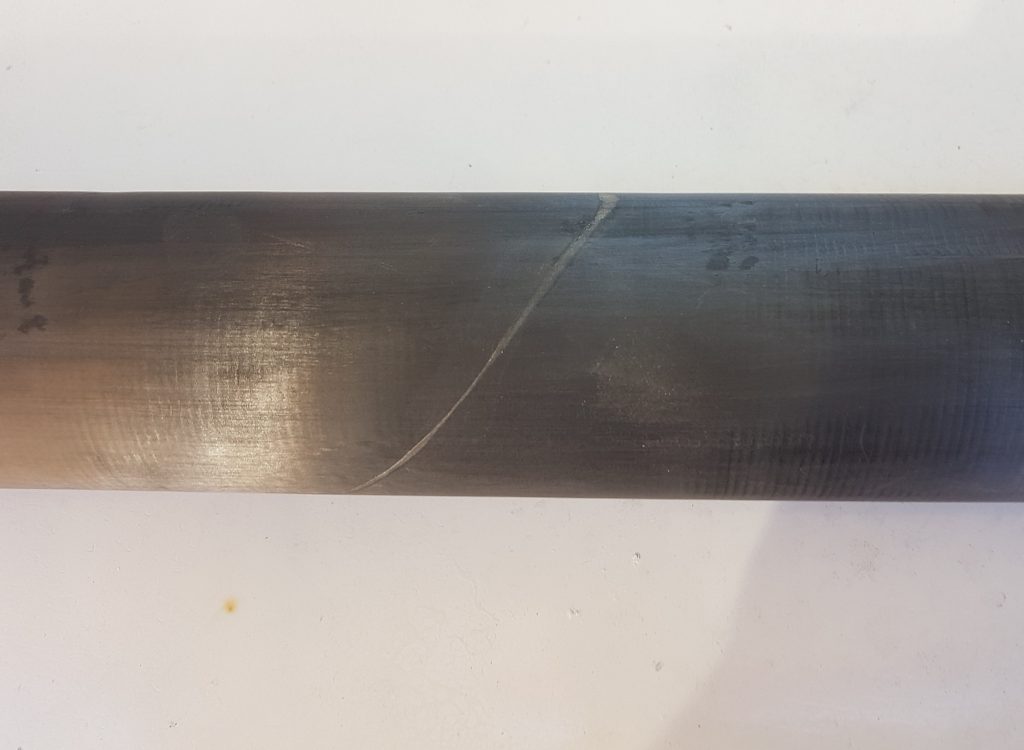
The blade was ground back to shape on both sides allowing enough depth for the final gel coat application. (note that the grinding goes back into the original gelcoat to allow a feathered and blended edge between the new and original gelcoat)

in the process of grinding back after laminating

we then added a liberal layer of Gelcoat ready for sanding back and polishing

liberal application of gelcoat before sanding back and polishing

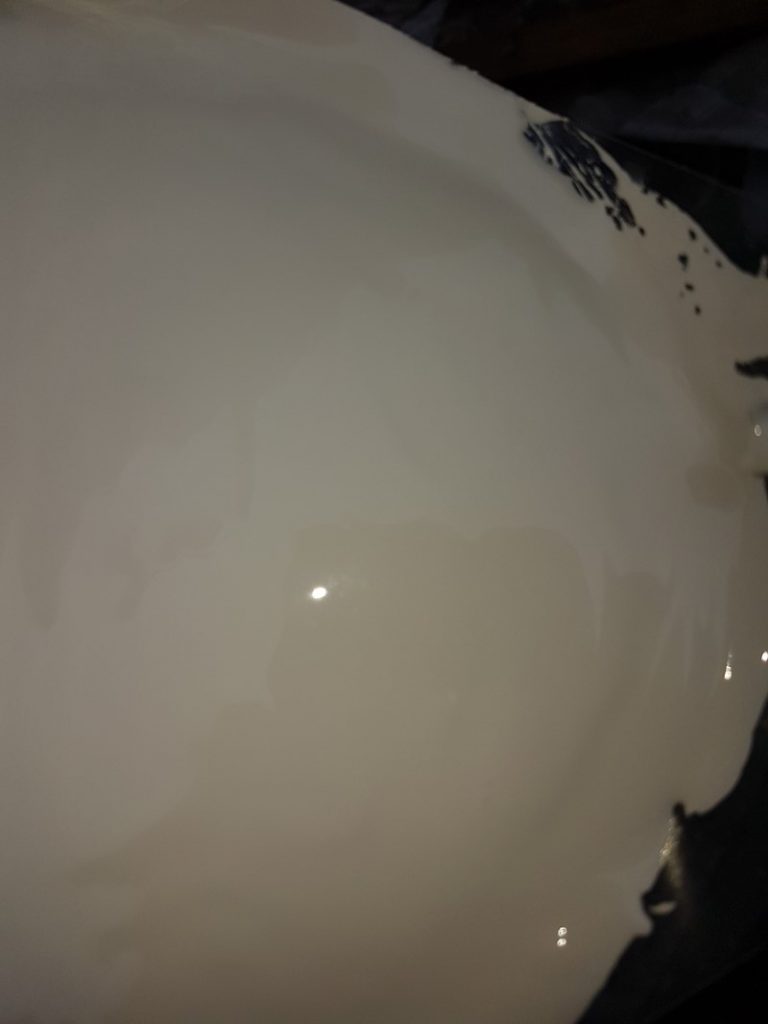
Tape was used to hold the Gelcoat in place around the edges to avoid dripping as it set so that the repair would be fully encapsulated once completed.

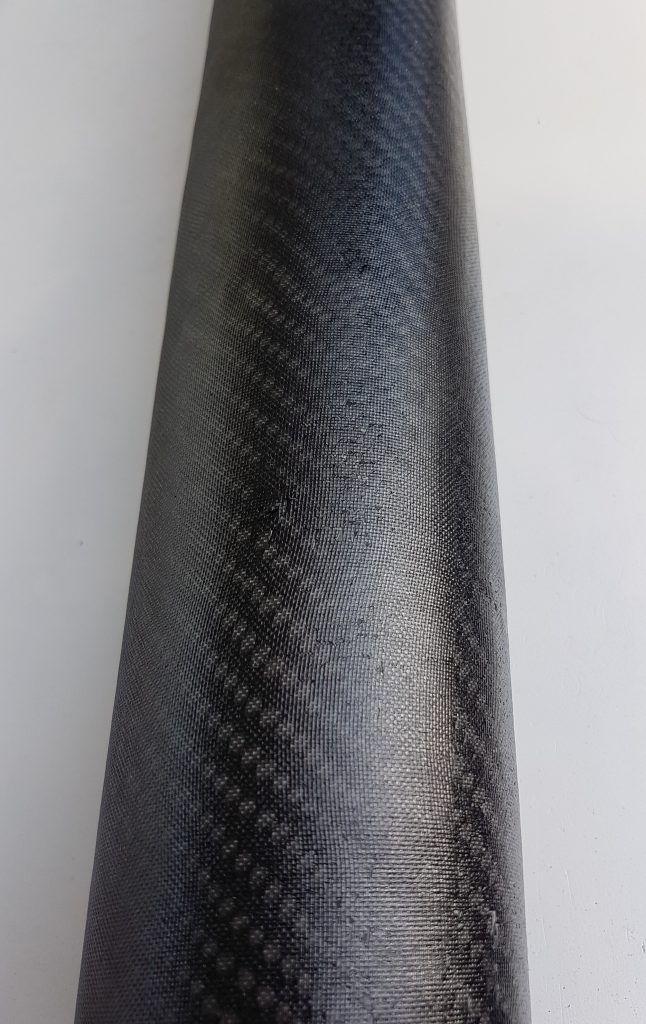
then sanded back to profile and polished

oooh shiny, sanded back and polished up ready for the weekend

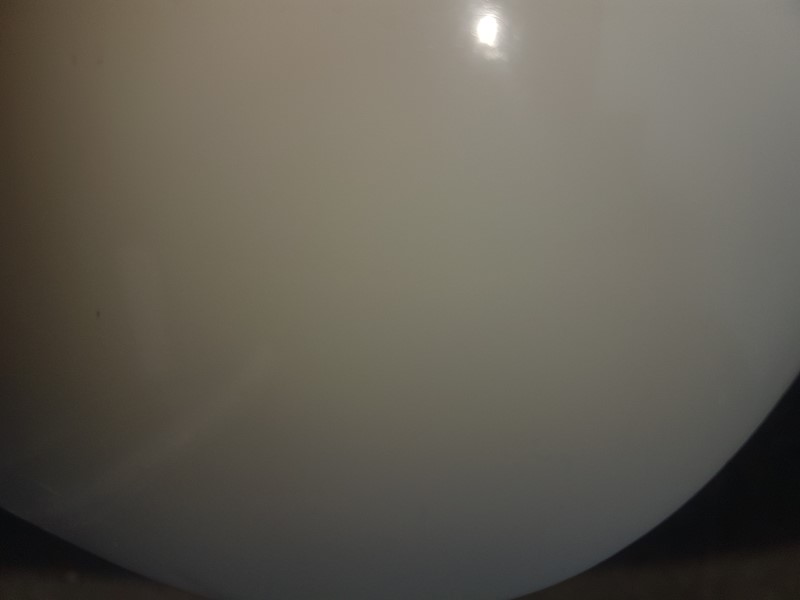
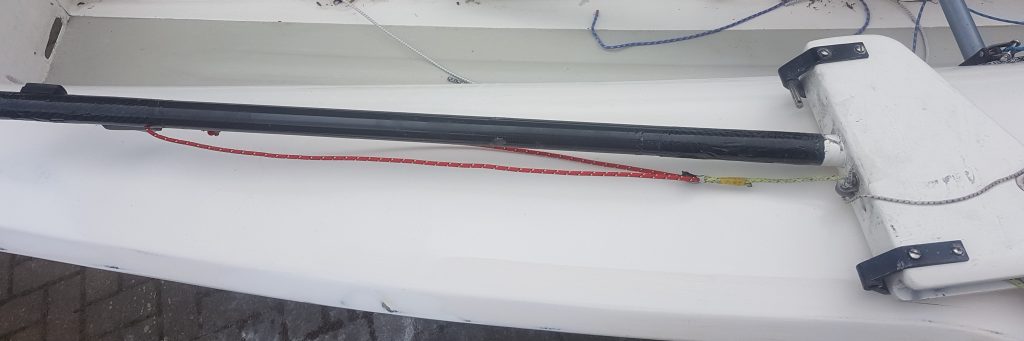
Good as new (probably better actually, even if we say so ourselves) and ready for the weekend.

The overall cost of repair came to just under £250 for the pair complete and they were back out the door by Friday lunchtime in time for weekend racing. Considerably more economical than a pair of replacement blades at around £400 each and that’s assuming they were in stock at the suppliers and ready for immediate dispatch.

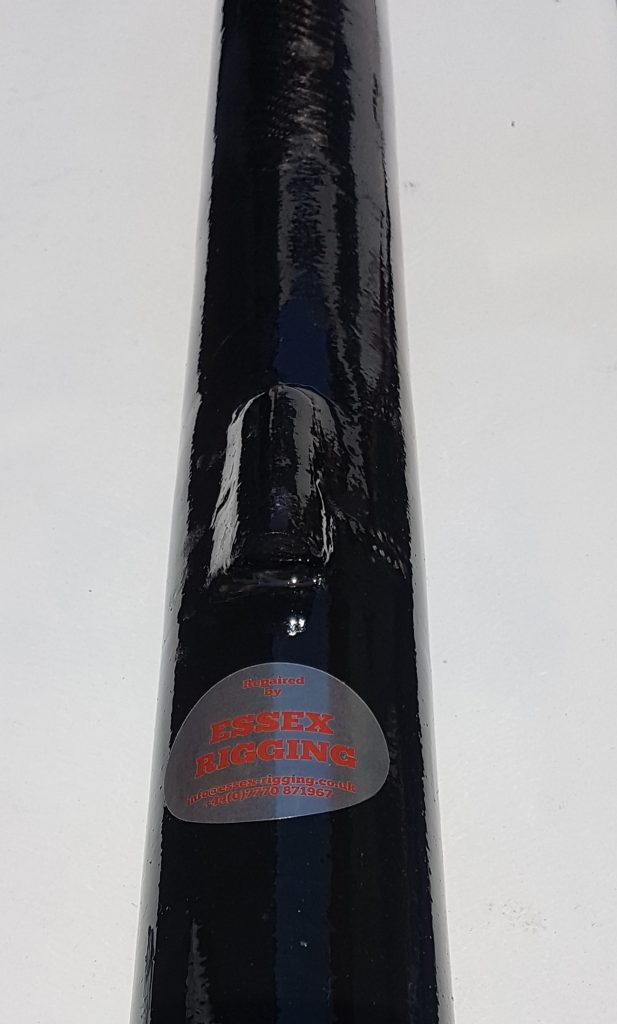
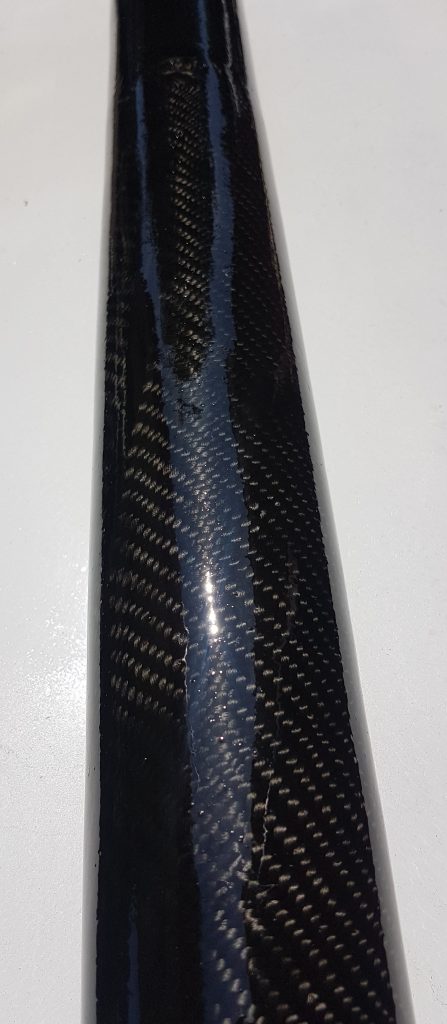
Here at Essex Rigging we are fortunate to have the facilities, tools, materials, expertise and many years of experience to effect repairs to hulls, foils, spars or any other laminated parts. We specialise in anything laminated from polyester and glass to complex carbon / kevlar epoxy construction, please call to discuss your requirements.

Note that repairs are carried out on a time and materials basis. Please do not ask, as we cannot quote an exact completed price, however we should be able to give a ball park figure and generally repairs come out well under half the price of a replacement part, take a look at some of our other repairs and their costs to get a rough idea although obviously all repairs are different.

Posted on

Superspars Boom Repair

we were asked if we could repair a superspars boom which had previously been repaired (not by us), but had crumpled during use. The area between the vang and the gooseneck being the highest loaded point on a boom.

we said we’d reservedly take a look at it and give an honest opinion, as you never know what sort of horror story you might find underneath. Of course, everything can be repaired, but it depends whether it’s actually financially viable to do so.

Unfortunately, the boom was also pretty worn in places and had holes cut in the wrong place at the gooseneck end.

discarded parts

once we’d cut out the old repair, the problems were self evident. So where to start with what’s wrong with this repair?

There’s your problem(s), top of the picture is where the boom had crumpled
  1. at the top of the picture is a gap where the inner repair sleeve was not fully bonded to the boom
  2. at the bottom where the repair tube had just been cut without measuring the internal diameter of the boom and pushed in allowing some movement
  3. unthickened epoxy has used to bond the tube in
  4. the inside of the boom had not been prepared for bonding
  5. cloth had been cold wrapped around the boom to conceal the repair

What could have been done differently?

  1. the internal sleeve should fit exactly into the boom, without gaps or holes to give a perfect fit (not just an off-cut thrown inside)
  2. the repair tube should have a higher layup schedule than the original tubing due to reduced diameter
  3. butt joints are bad, always better to scarf giving a longer glue line
  4. all surfaces should be prepared for bonding
  5. the correct material should be used for bonding
  6. when sheathing, consider the schedule and loadings on the piece, you can’t just throw some carbon cloth on and expect it to work
  7. use a UV stabilised epoxy or the laminate will degrade remarkably quickly

What we did

Fortunately, the the owner told us the boom was actually too long and could be cut down. We made a custom sleeve using a slightly higher layup schedule than the original boom

inner boom sleeve

This enabled us to cut out the old repair and the unwanted holes and still have room for a reasonable length scarf joint.

scarf cut and internal tube

the old boom and new internal tube were bonded together

glued scarf joint with tube inside

and then the whole lot was sanded back, roll wrapped with unidirectional carbon and a veil of lightweight carbon cloth to make it look tidy. This was then all vacuumed down and given an elevated temperature post cure in our spar oven.

unwrapped post vac and bake

above is the boom after baking and the vacuum stack removed, all ready for a final finishing layer of UV stabilised epoxy and touch of pigment to sympathise with the finish on the original boom.

and here’s the finished piece, we also had to move the vang attachment, which was bonded and then cloth wrapped and coated.


boom repaired where the break was

So if you’ve got a piece of carbon that’s broken, give us a call and discuss what we can do for you, however, please don’t ask for a quote as all repairs are on a Time and Materials basis, we can give you a ball park figure from our years of experience, but we can’t do anything firm as far as pricing is concerned. This repair was still under half the cost of a replacement boom.

Posted on

Fibreglass and Carbon repair – tillers

we can repair most things with our extensive workshop facilities, broken something, below are a couple of repairs we’ve undertaken, if you’ve got a problem, please give us a call to discuss.

Laser XD tiller

we were given this broken laser tiller to repair.

so we did,

we cleaned out the insides, created a carbon inner skin to replicate the shape and chamfered the original tiller, we then laid in a combination of UD and bi-axial cloth, wrapped it all with some plain weave carbon in a uv-resistant epoxy matrix and vacuumed it all down and baked it. Once this had set we gave it a couple of coats of UV lacquer to protect it even more for under half the price of a new one.

Winder Solo Tiller

we were presented with a rather sorry looking rudder and tiller where someone had tried a home repair by ramming a few pieces of broom handle inside it and epoxying it in, unfortunately the broom handle was a bit large (not to mention heavy) and had split the tubing almost to the rudder stock.

here you can see the break and part of the broom
and once we’d managed to pull it apart, unfortunately the wood had also been used to strengthen (??!) the end of the tiller to fit the tiller extension uj.and split it there too, only held together with some tape.
and here it is all disassembled

unfortunately there was only a couple of inches at the stock end that were salvageable, so we cut the back as far from the stock as we could, made an internal tube and glued the stub and a new tiller tube together.

here’s the graft of the new tiller
the tiller graft was then slightly chamfered and some plain weave carbon was roll wrapped over the repair in a UV stable epoxy resin matrix and then heat shrunk to fit.
as with all our tillers we also roll wrap plain weave carbon where any fittings will be attached, to save drilling all the way through the tiller and having bolts exposed to catch on your hands of sheets, we also build up the inside of the tiller where the uj will be fitted. We then drill and tap into this and secure the fastenings in epoxy.

and here’s the completed rudder and tiller, complete with new downhaul and a saddle under the uj, one more happy customer at a 3rd of the cost of a replacement stock.