we were asked if we could repair a superspars boom which had previously been repaired (not by us), but had crumpled during use. The area between the vang and the gooseneck being the highest loaded point on a boom.
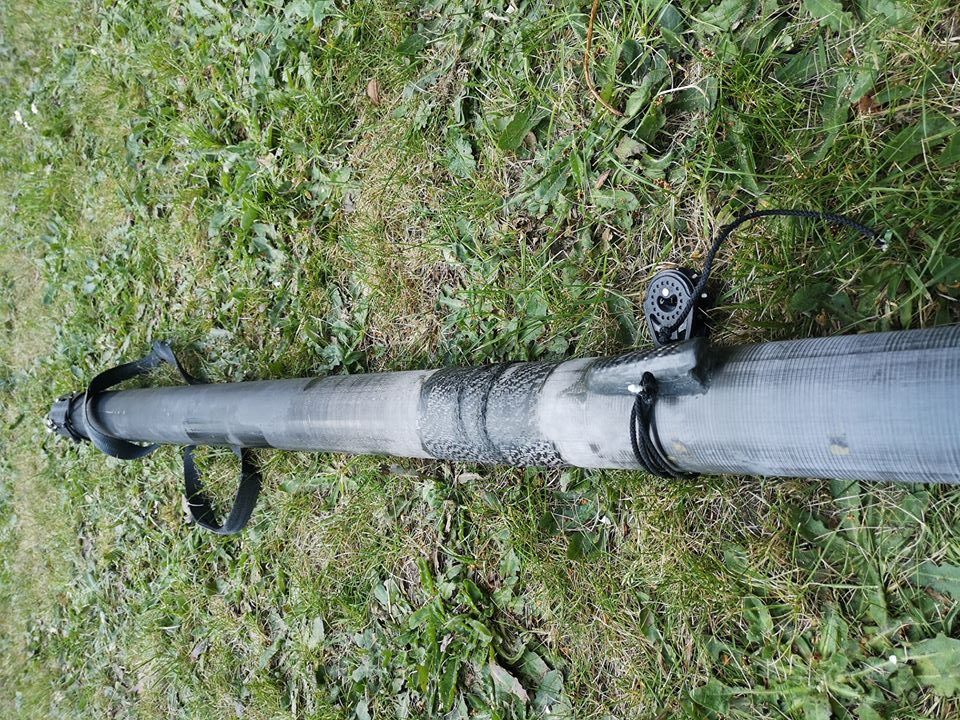
we said we’d reservedly take a look at it and give an honest opinion, as you never know what sort of horror story you might find underneath. Of course, everything can be repaired, but it depends whether it’s actually financially viable to do so.
Unfortunately, the boom was also pretty worn in places and had holes cut in the wrong place at the gooseneck end.
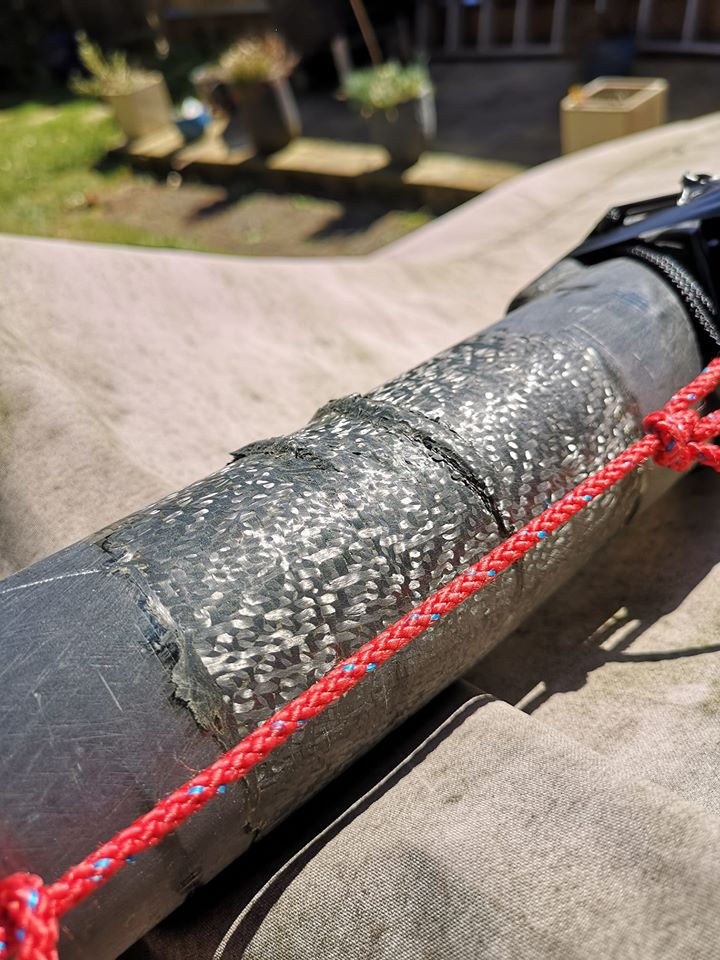
once we’d cut out the old repair, the problems were self evident. So where to start with what’s wrong with this repair?
- at the top of the picture is a gap where the inner repair sleeve was not fully bonded to the boom
- at the bottom where the repair tube had just been cut without measuring the internal diameter of the boom and pushed in allowing some movement
- unthickened epoxy has used to bond the tube in
- the inside of the boom had not been prepared for bonding
- cloth had been cold wrapped around the boom to conceal the repair
What could have been done differently?
- the internal sleeve should fit exactly into the boom, without gaps or holes to give a perfect fit (not just an off-cut thrown inside)
- the repair tube should have a higher layup schedule than the original tubing due to reduced diameter
- butt joints are bad, always better to scarf giving a longer glue line
- all surfaces should be prepared for bonding
- the correct material should be used for bonding
- when sheathing, consider the schedule and loadings on the piece, you can’t just throw some carbon cloth on and expect it to work
- use a UV stabilised epoxy or the laminate will degrade remarkably quickly
What we did
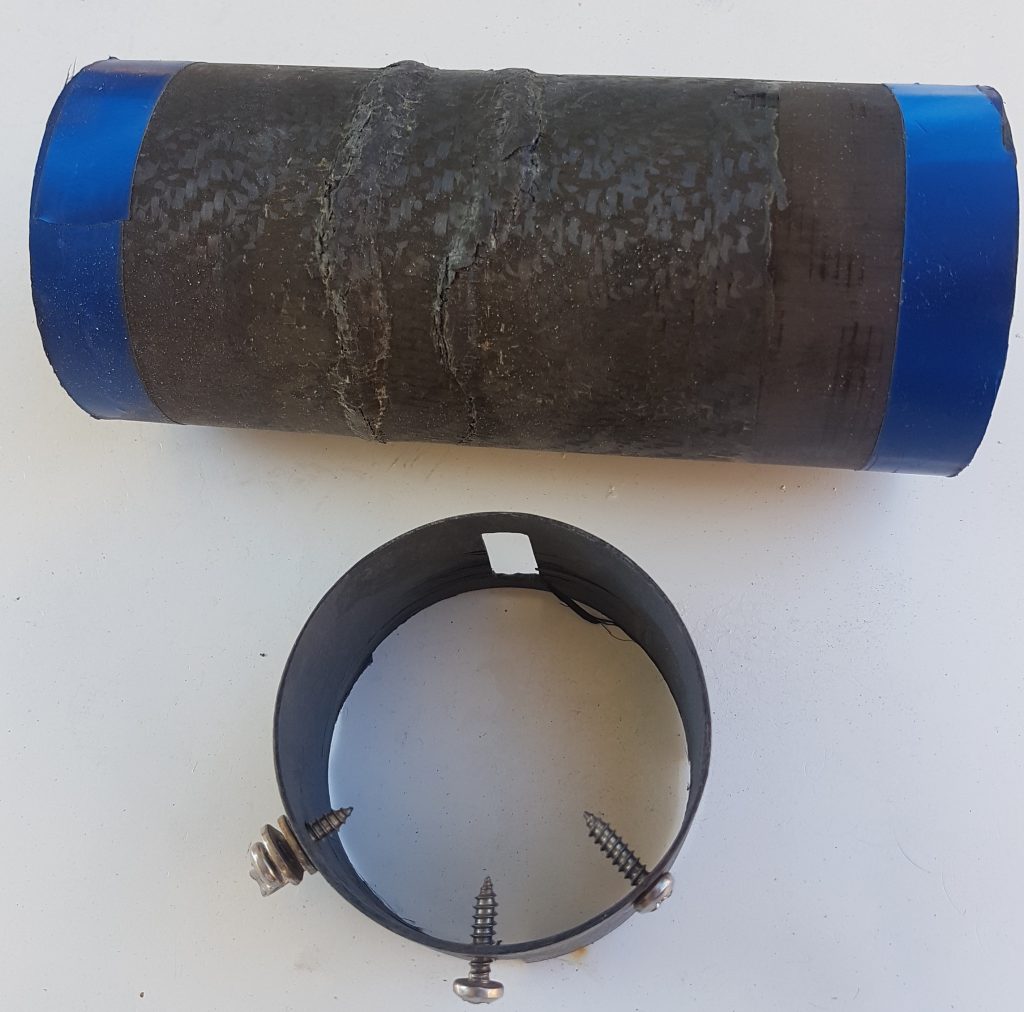
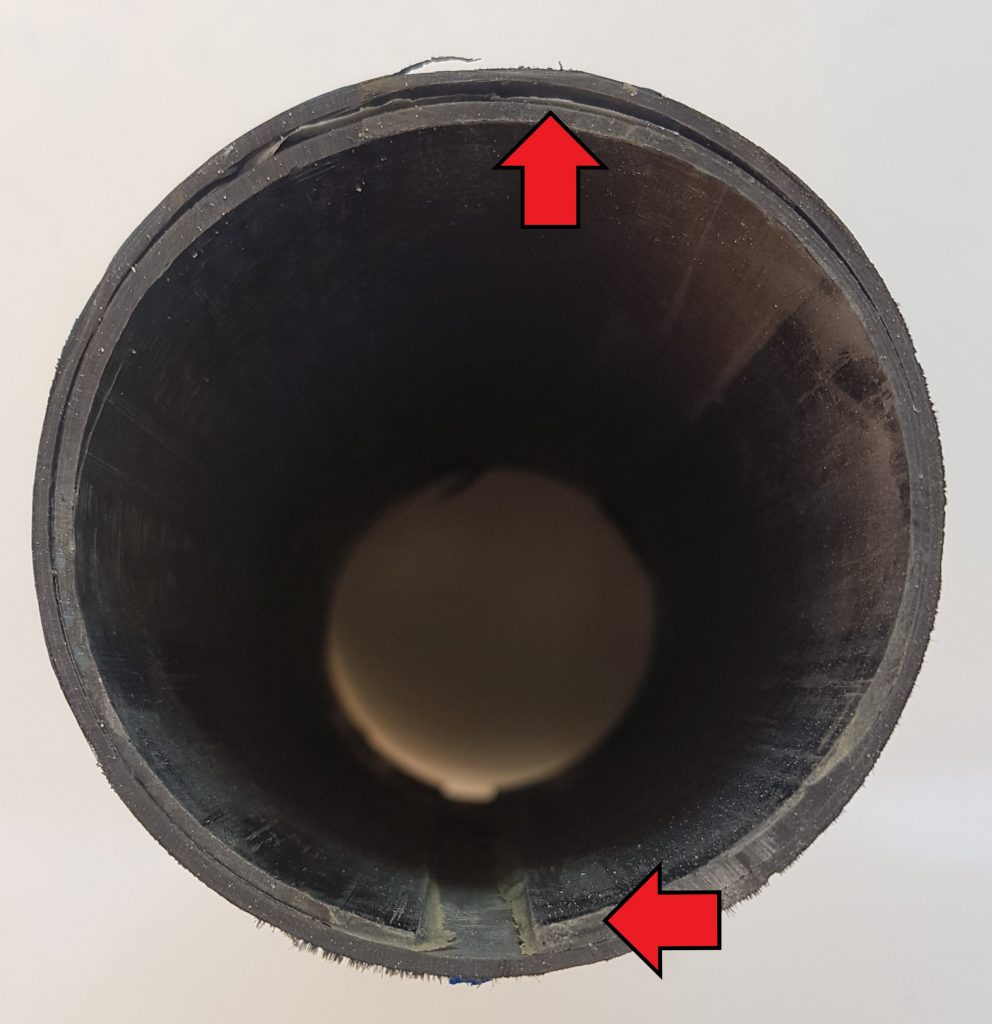
Fortunately, the the owner told us the boom was actually too long and could be cut down. We made a custom sleeve using a slightly higher layup schedule than the original boom
This enabled us to cut out the old repair and the unwanted holes and still have room for a reasonable length scarf joint.
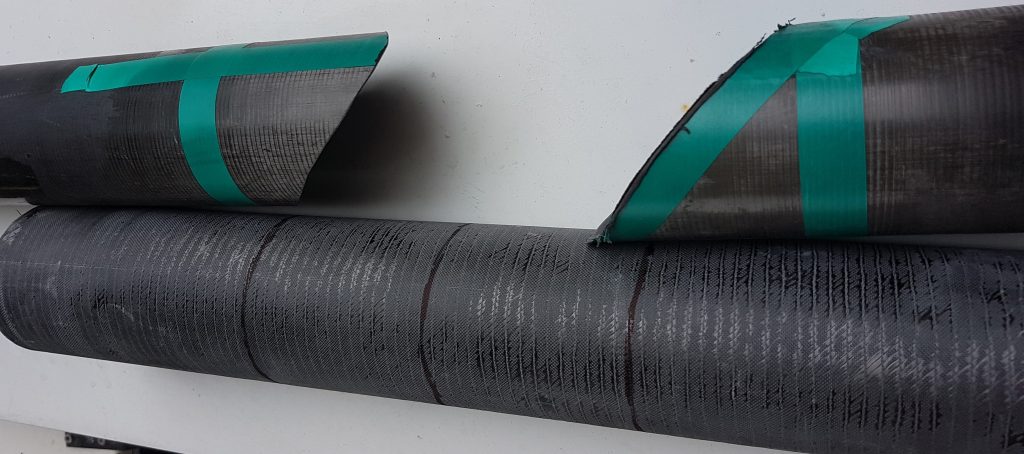
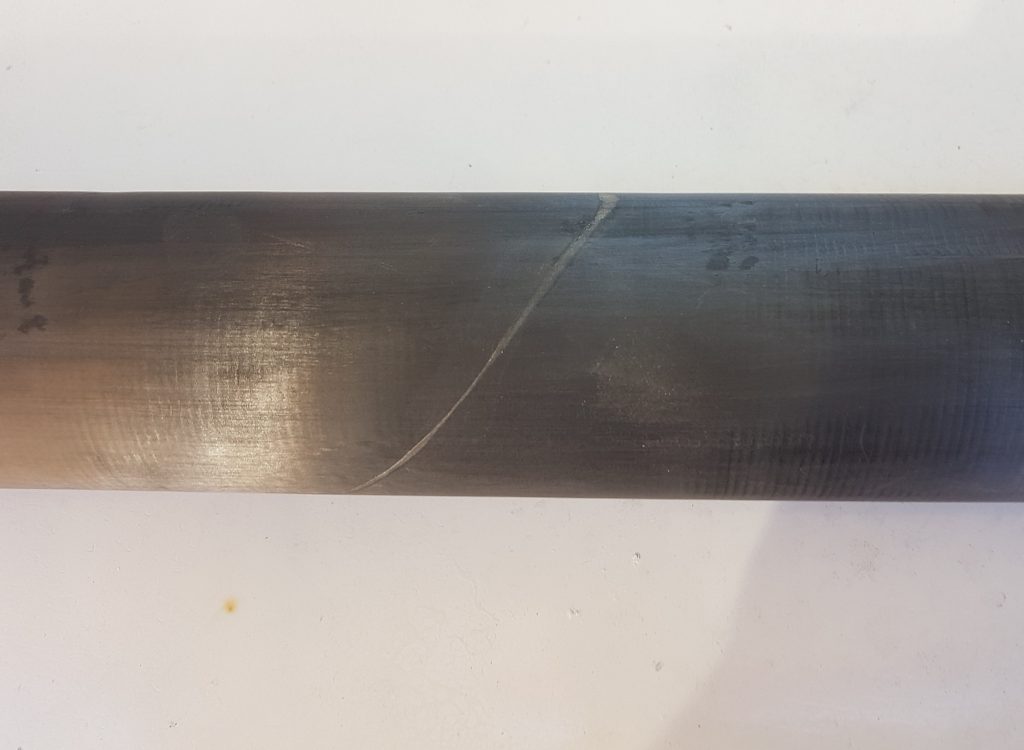
the old boom and new internal tube were bonded together
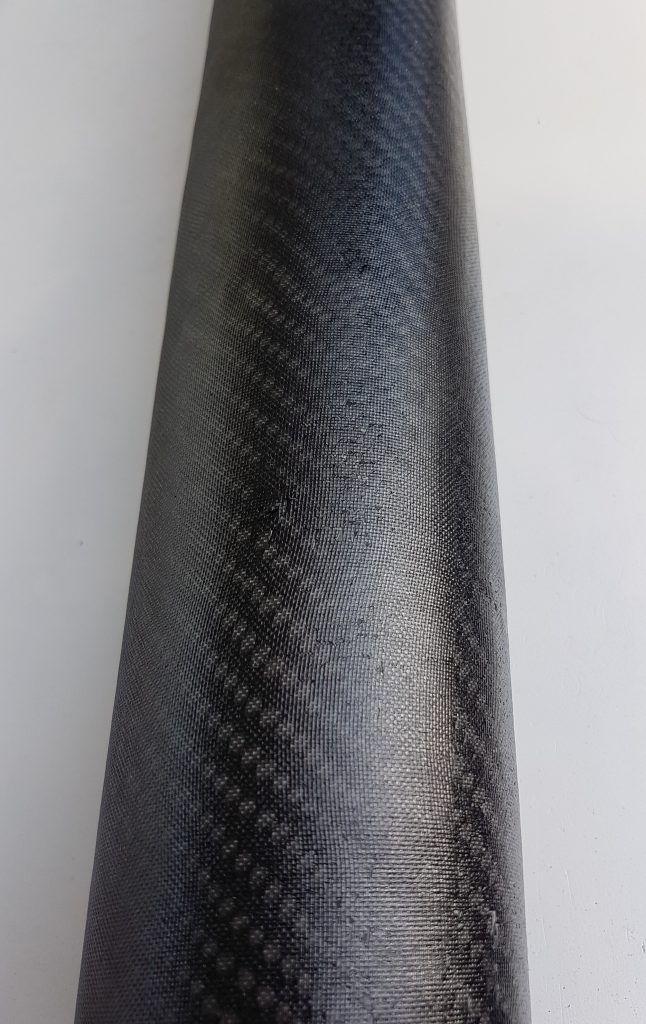
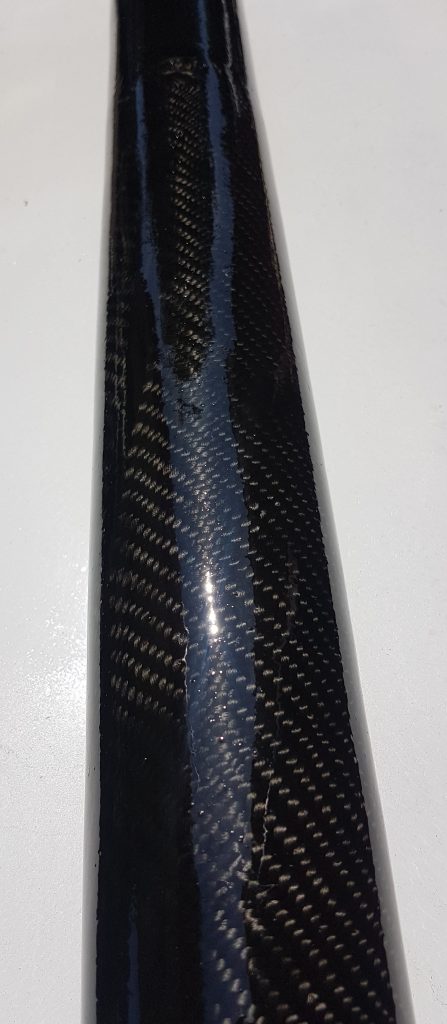
and then the whole lot was sanded back, roll wrapped with unidirectional carbon and a veil of lightweight carbon cloth to make it look tidy. This was then all vacuumed down and given an elevated temperature post cure in our spar oven.
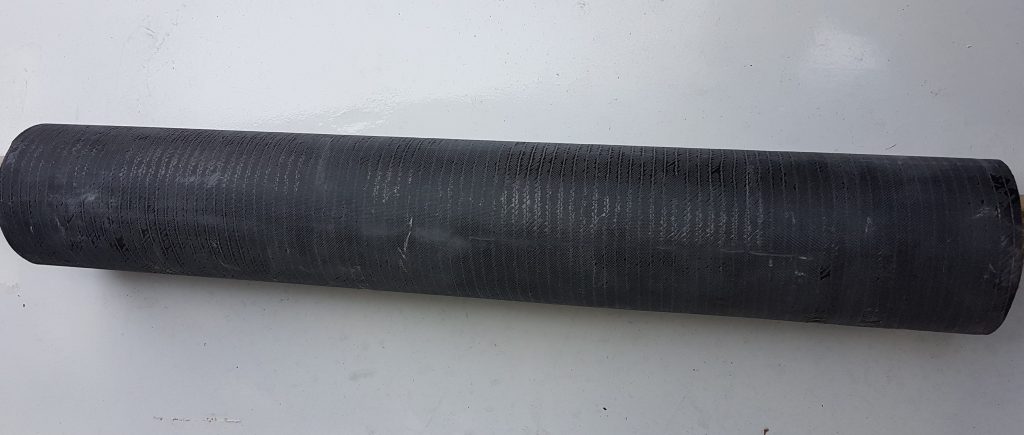
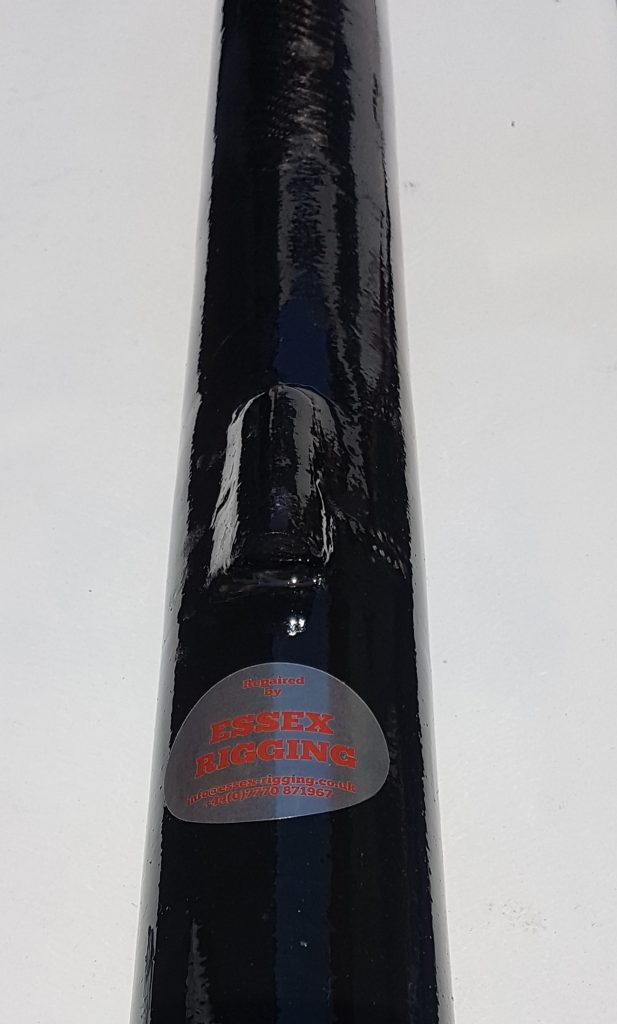
above is the boom after baking and the vacuum stack removed, all ready for a final finishing layer of UV stabilised epoxy and touch of pigment to sympathise with the finish on the original boom.
and here’s the finished piece, we also had to move the vang attachment, which was bonded and then cloth wrapped and coated.
So if you’ve got a piece of carbon that’s broken, give us a call and discuss what we can do for you, however, please don’t ask for a quote as all repairs are on a Time and Materials basis, we can give you a ball park figure from our years of experience, but we can’t do anything firm as far as pricing is concerned. This repair was still under half the cost of a replacement boom.